How to Build a Floating Desk Inside a Closet
Step-by-Step DIY Tutorial with Photos + Video


So nice, I made it twice!
The first time around was for my son who needed a spot in his room for his desktop computer to live. Luckily, the dimensions of his closet allowed for some “hidden” closet rods on the sides, making this a dual purpose space (see more pics below).
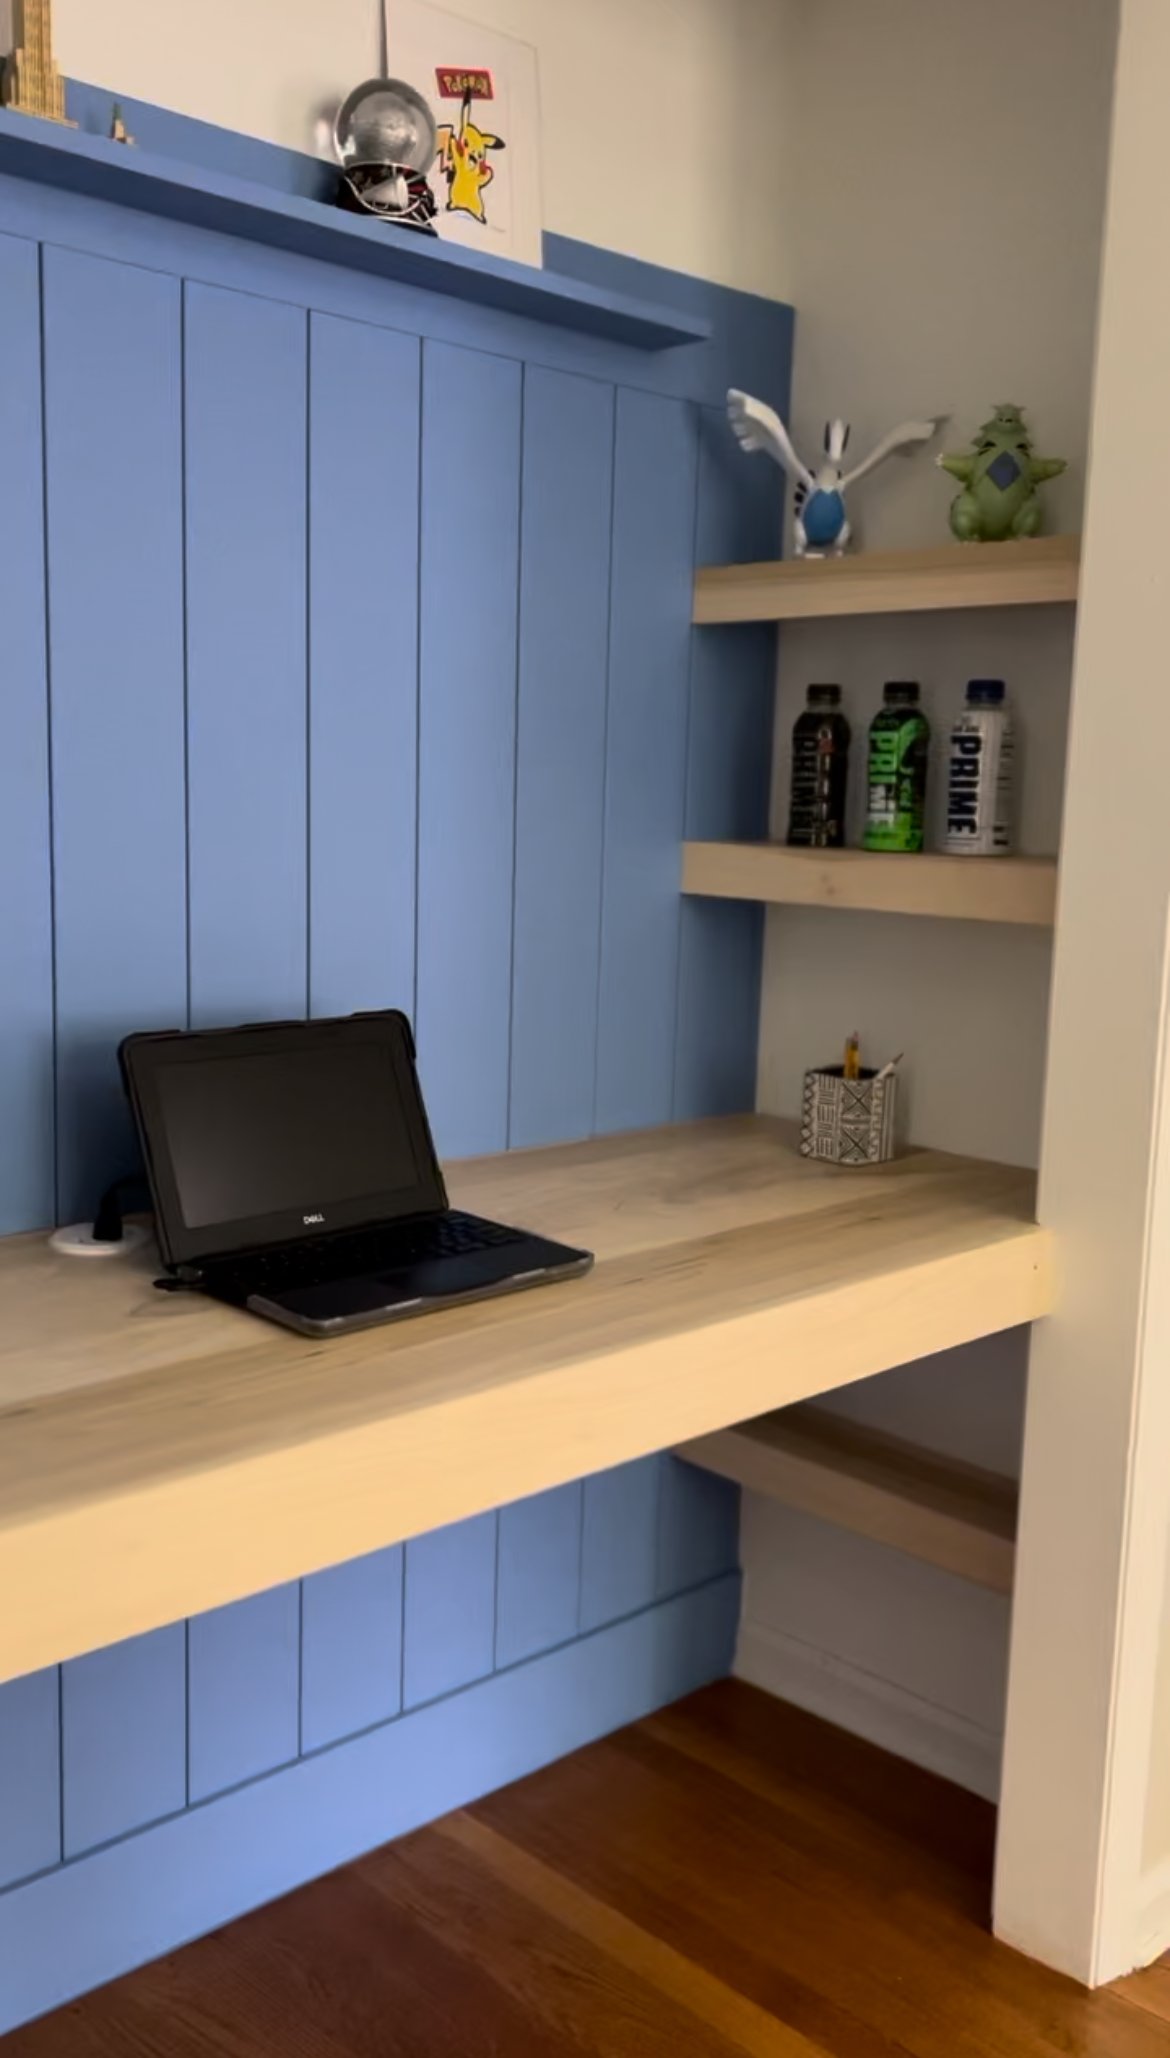
Closet-to-desk conversion #2 was for a little bestie who is lucky enough to have TWO closets in his bedroom. So for his desk space I added some floating shelves for him to display some of his favorite items and hold some school supplies.
Read on to see how I took these spaces from plain old closets to functional (and stylish!) desk areas!
TOOLS
pry bar and/or nail puller
MATERIALS (length/quantity will vary based on the specific dimensions of your space)
**Click here for important info and helpful tips to consider when buying wood!
DESKTOP:
1x2 boards
-these will be used to create “cleats”-a ledge that the desktop will sit on. You’ll need slightly less than the length of the two sides, back and front of your desktop. These will be hidden, so I used cheap pine.
1x4 boards (width can vary based on preference)
-These boards will used for your desktop and for the front trim piece- I used Poplar. The length of your boards should be long enough to cover the desktop dimensions from left to right continuously with no cuts. The number of boards you’ll need will be based on the width of your boards and the depth of your space. Get enough to fill the space from front to back of the inside of the closet with no gaps (If you do not have a table saw to rip your last piece to the correct size, you may need to get one board in a smaller width to fill any remaining gap). Your trim piece will need to run the length of the closet opening from left to right. *You may want to have additional trim pieces for the left and right sides of the desktop if you do not plan for the desktop to run fully from left wall to right wall.
2x4 board
-This piece will be added beneath the desktop as a center support and will run the depth of the desktop inside the cleats. This will be hidden. If you have an extra wide space, you can consider having 2 of these spaced out evenly.
-you can buy a product like this BUT it’s cheaper and a better color match to make your own by mixing wood glue and sawdust to a putty-like consistency
-a combination of grits- I used 80, 120 and 220
stain (if needed- I did not stain mine)
-For a protective finish. I use this one because it’s water-based so it doesn’t yellow
VERTICAL PLANK WALL WITH CENTER SHELF
1/2” x 5 1/2” MDF primed baseboard moulding
-I made my vertical boards 62” high with one horizontal piece above (overall height- 67.5”) and added an additional horizontal piece for the floor moulding
a few coins (I used nickels) for spacers between vertical boards
1x4 board
-center upper shelf
primer (if needed)
paint, eggshell or matte
-Dark Navy: Newburyport Blue (Benjamin Moore)
-Blue/Purple: Brazilian Blue (Benjamin Moore)
FLOATING SHELVES
1x2s for cleats
1x4s for shelves
1x3 for front trim piece
1/4” plywood for underbelly of shelves *optional
-OR-
CLOSET POLE for hanging clothes
Wooden Pole
Closet Pole Bracket
Or this kit that includes both
Step One: Prep the closet
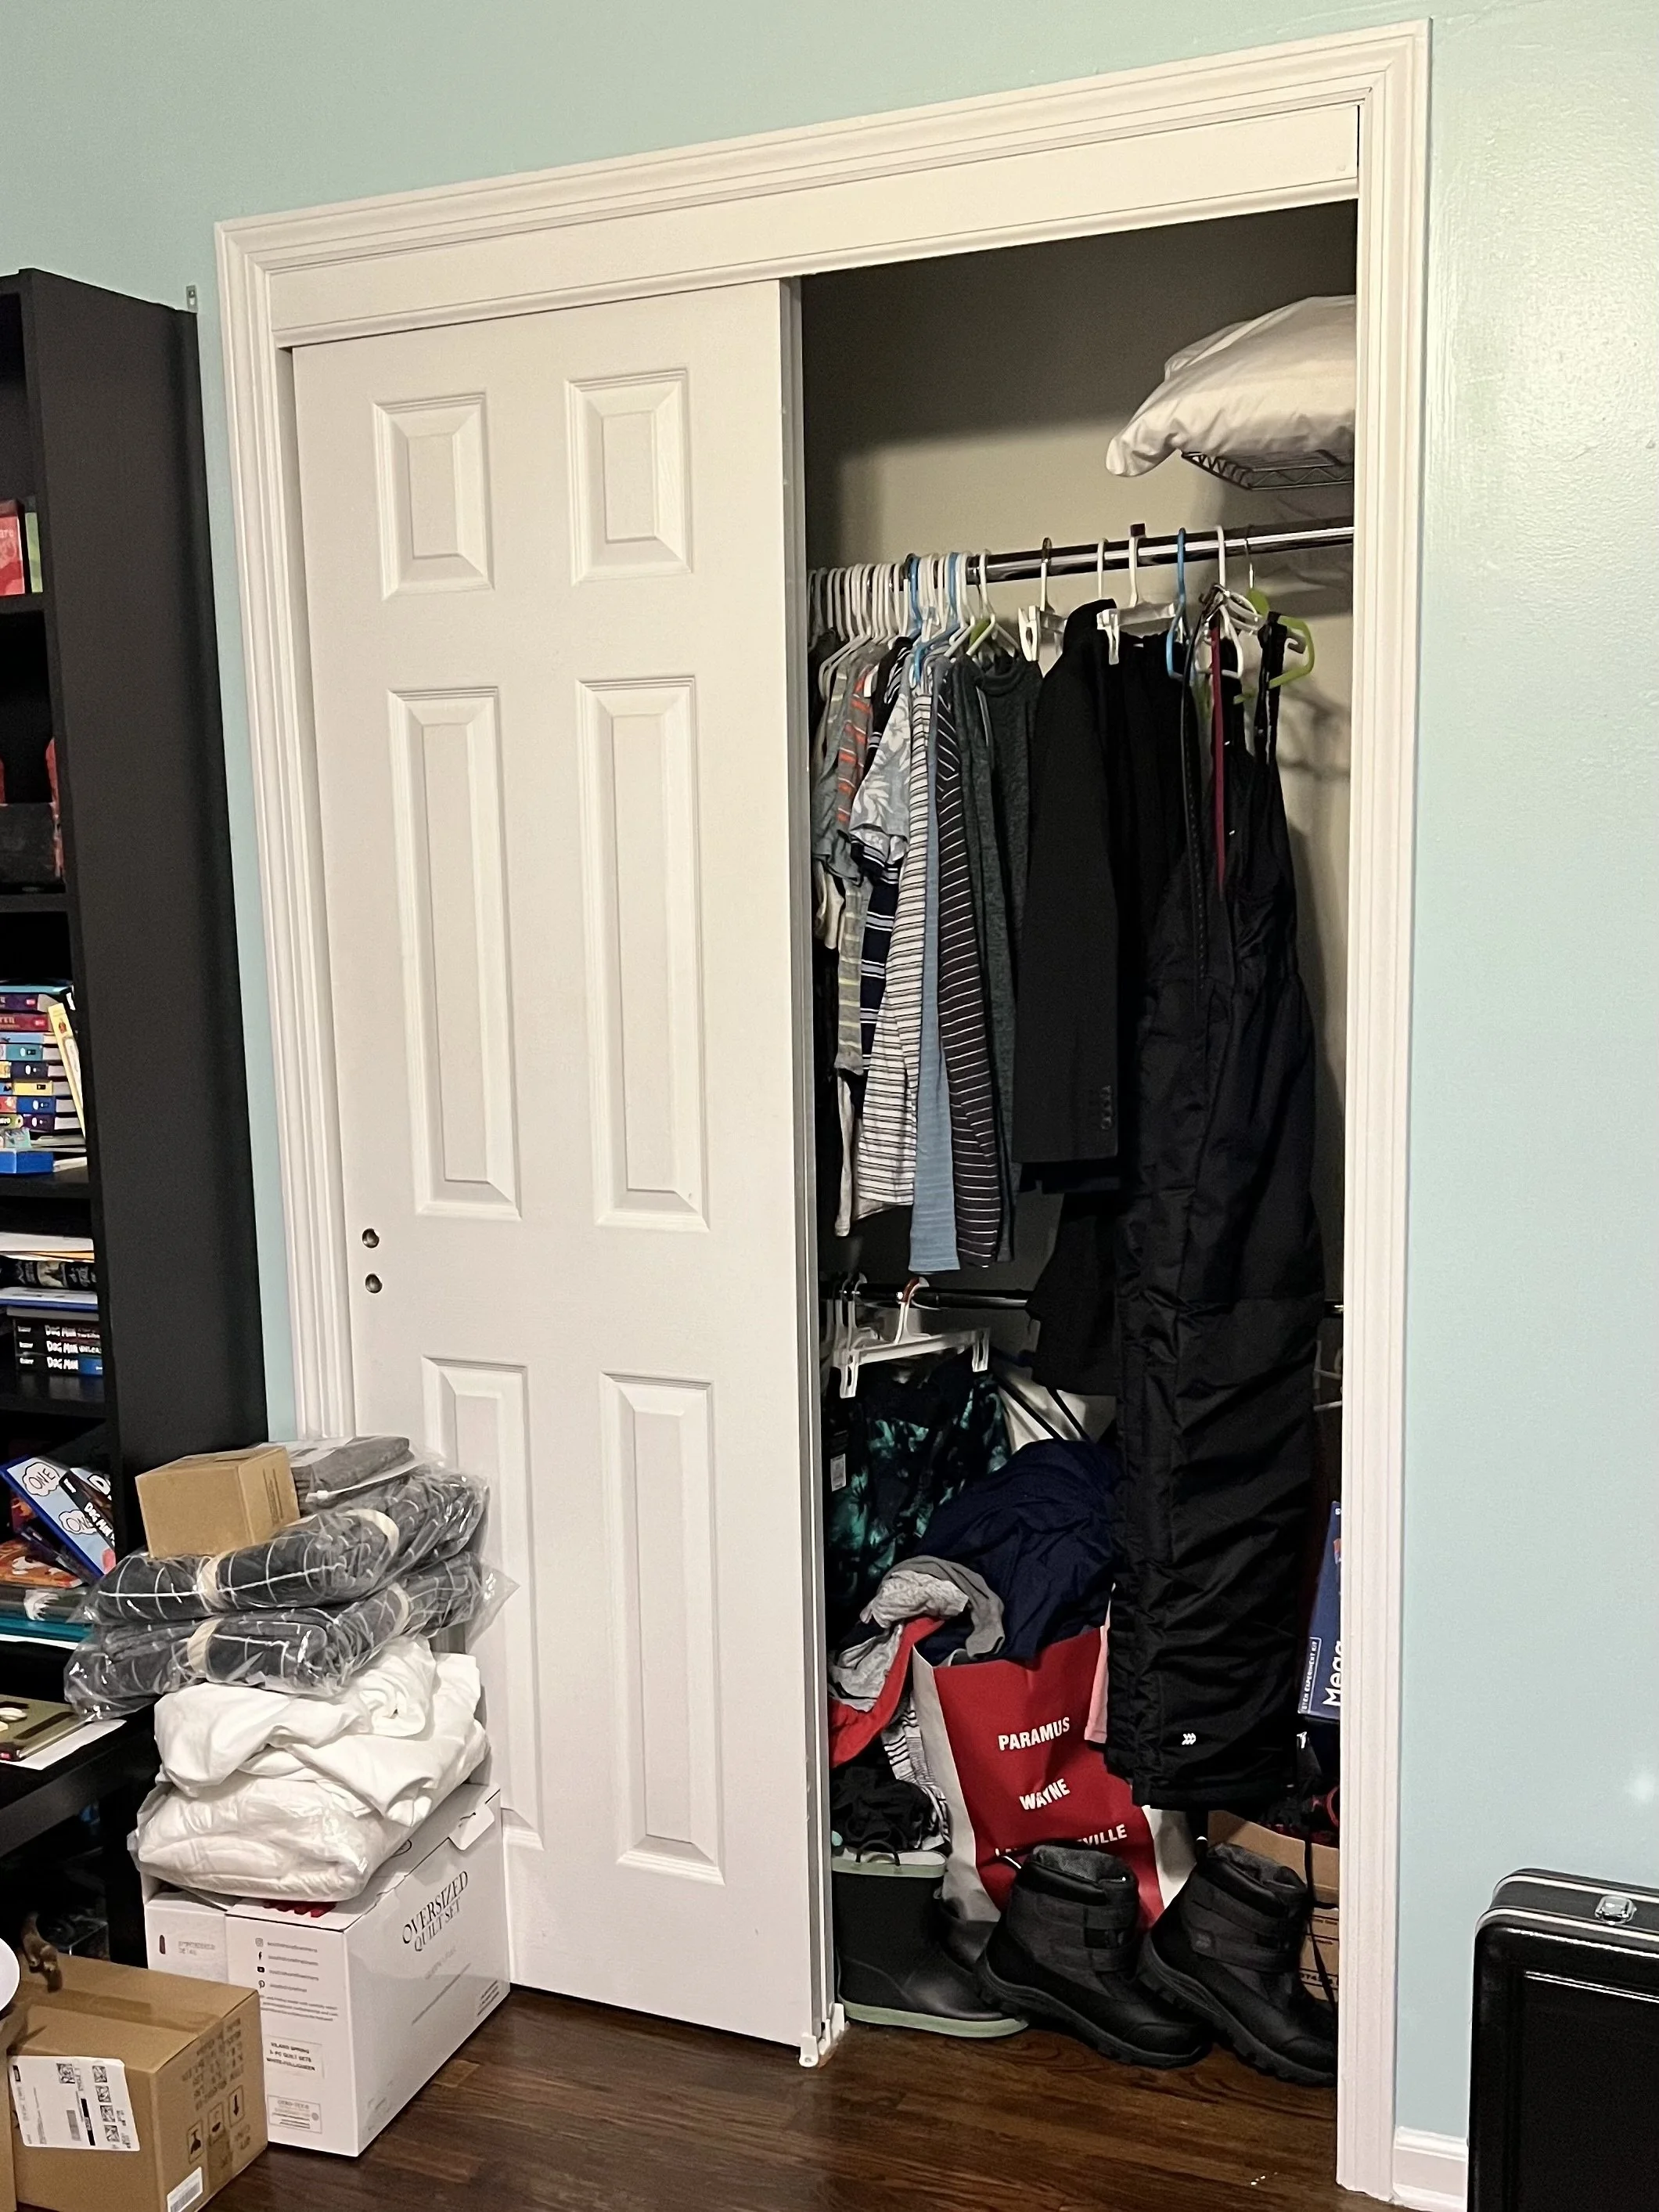
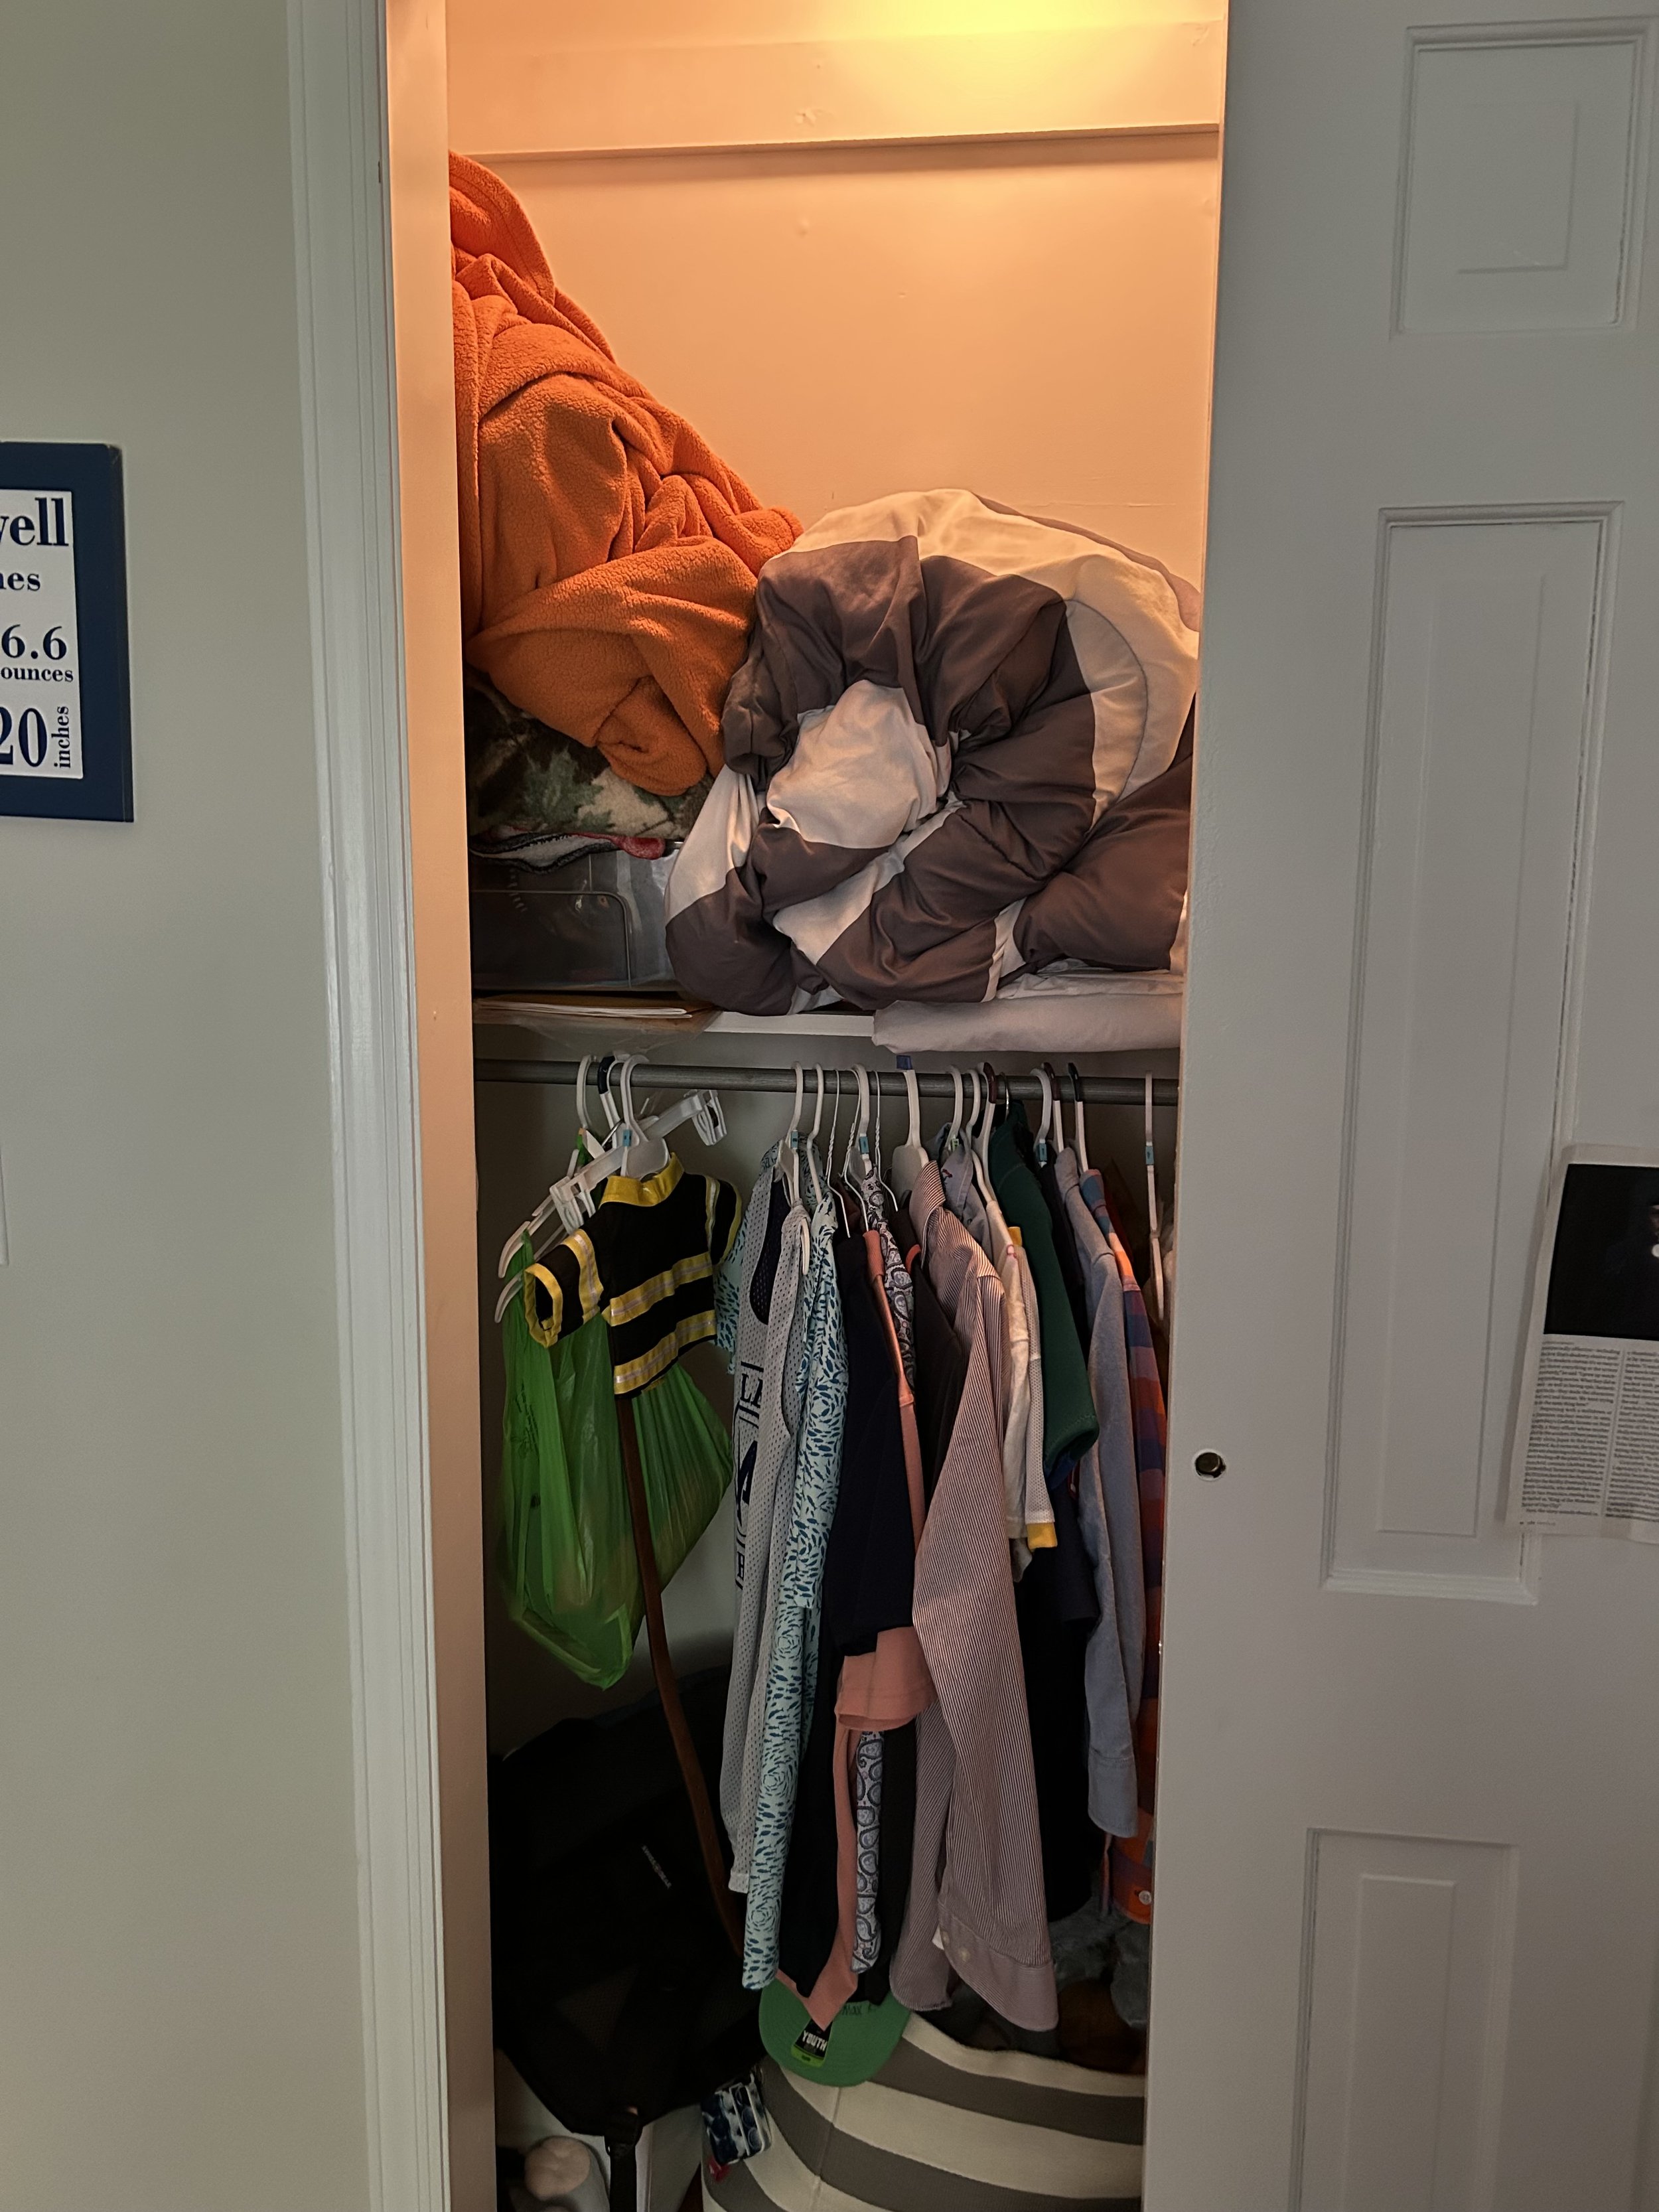
Empty the Closet
Remove any existing doors, unwanted trim, molding, etc.
Repair/patch any holes or other wall damage that will not be hidden by the desk and wall planks.
If needed, paint the sections of the wall that will be exposed.
If you’re still deciding on a paint color for your vertical planks, you can paint some samples in the area that will be covered with the planks.
Step Two: Add cleats
Using your stud finder and a pencil, mark where each stud is along the back wall. Do the same for the side walls if your desk will